


This DIY composting STEM project is a great example of a gardening STEM project. It’s perfect for high school and middle school students, but feel free to enjoy it with your elementary students too!
Composting is a great way to reduce your waste and help the environment. Not to mention, it’s also a fantastic STEM project for teenagers!


This guide will show you how to compost at home, using everyday materials. Your very own DIY compost bin!
Let’s get started!
This article may contain affiliate links. Please see our disclosure policy for more details.
Easy Navigation
What Is Composting?
Composting is the process of breaking down organic matter, such as food scraps and leaves, into a nutrient-rich soil amendment. This makes it an excellent way to reduce your waste and give back to the earth!
There are two main types of composting: cold composting and hot composting.
Cold composting is the simpler of the two methods and can be done without any special equipment. All you need is a spot in your yard (or even indoors) to store your compost bin. Cold composting takes longer than hot composting, but it’s perfect for those who are new to composting!


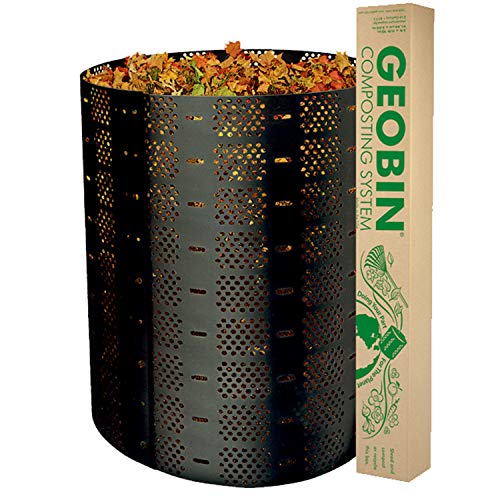
Hot composting requires a bit more effort, but it’s faster and produces richer compost. To hot compost, you’ll need a bin with good airflow and a way to generate heat (such as a compost tumbler or an open heap).
In this DIY composting STEM project tutorial, we will be talking about teaching kids how to cold compost. However, feel free to dive into hot composting if you want to take this lesson even further!
In this project, you will learn how to start a compost pile or bin. Composting is a great way to reduce waste and help create nutrient-rich soil for your garden, flower beds, or yard. Composting is the process of speeding up the decomposition of organic material into material that feeds plants and trees.


You’ll need a bin or area to start your compost pile. If you aren’t able to do this on a large scale, you can create a compost bin inside an empty 2-liter bottle.


The Science Behind A Compost Bin | How Do Compost Bins Work?
Composting is the process of organic materials breaking down and decomposing into a material that feeds the earth. This process happens naturally in nature. Leaves, twigs, dead plants, and other materials decompose naturally on the ground. Over time, this material helps create nutrient-rich soil that feeds the plants, flowers, vegetables, and trees. Without this process, the earth wouldn’t be able to provide ideal growing conditions for many plants.

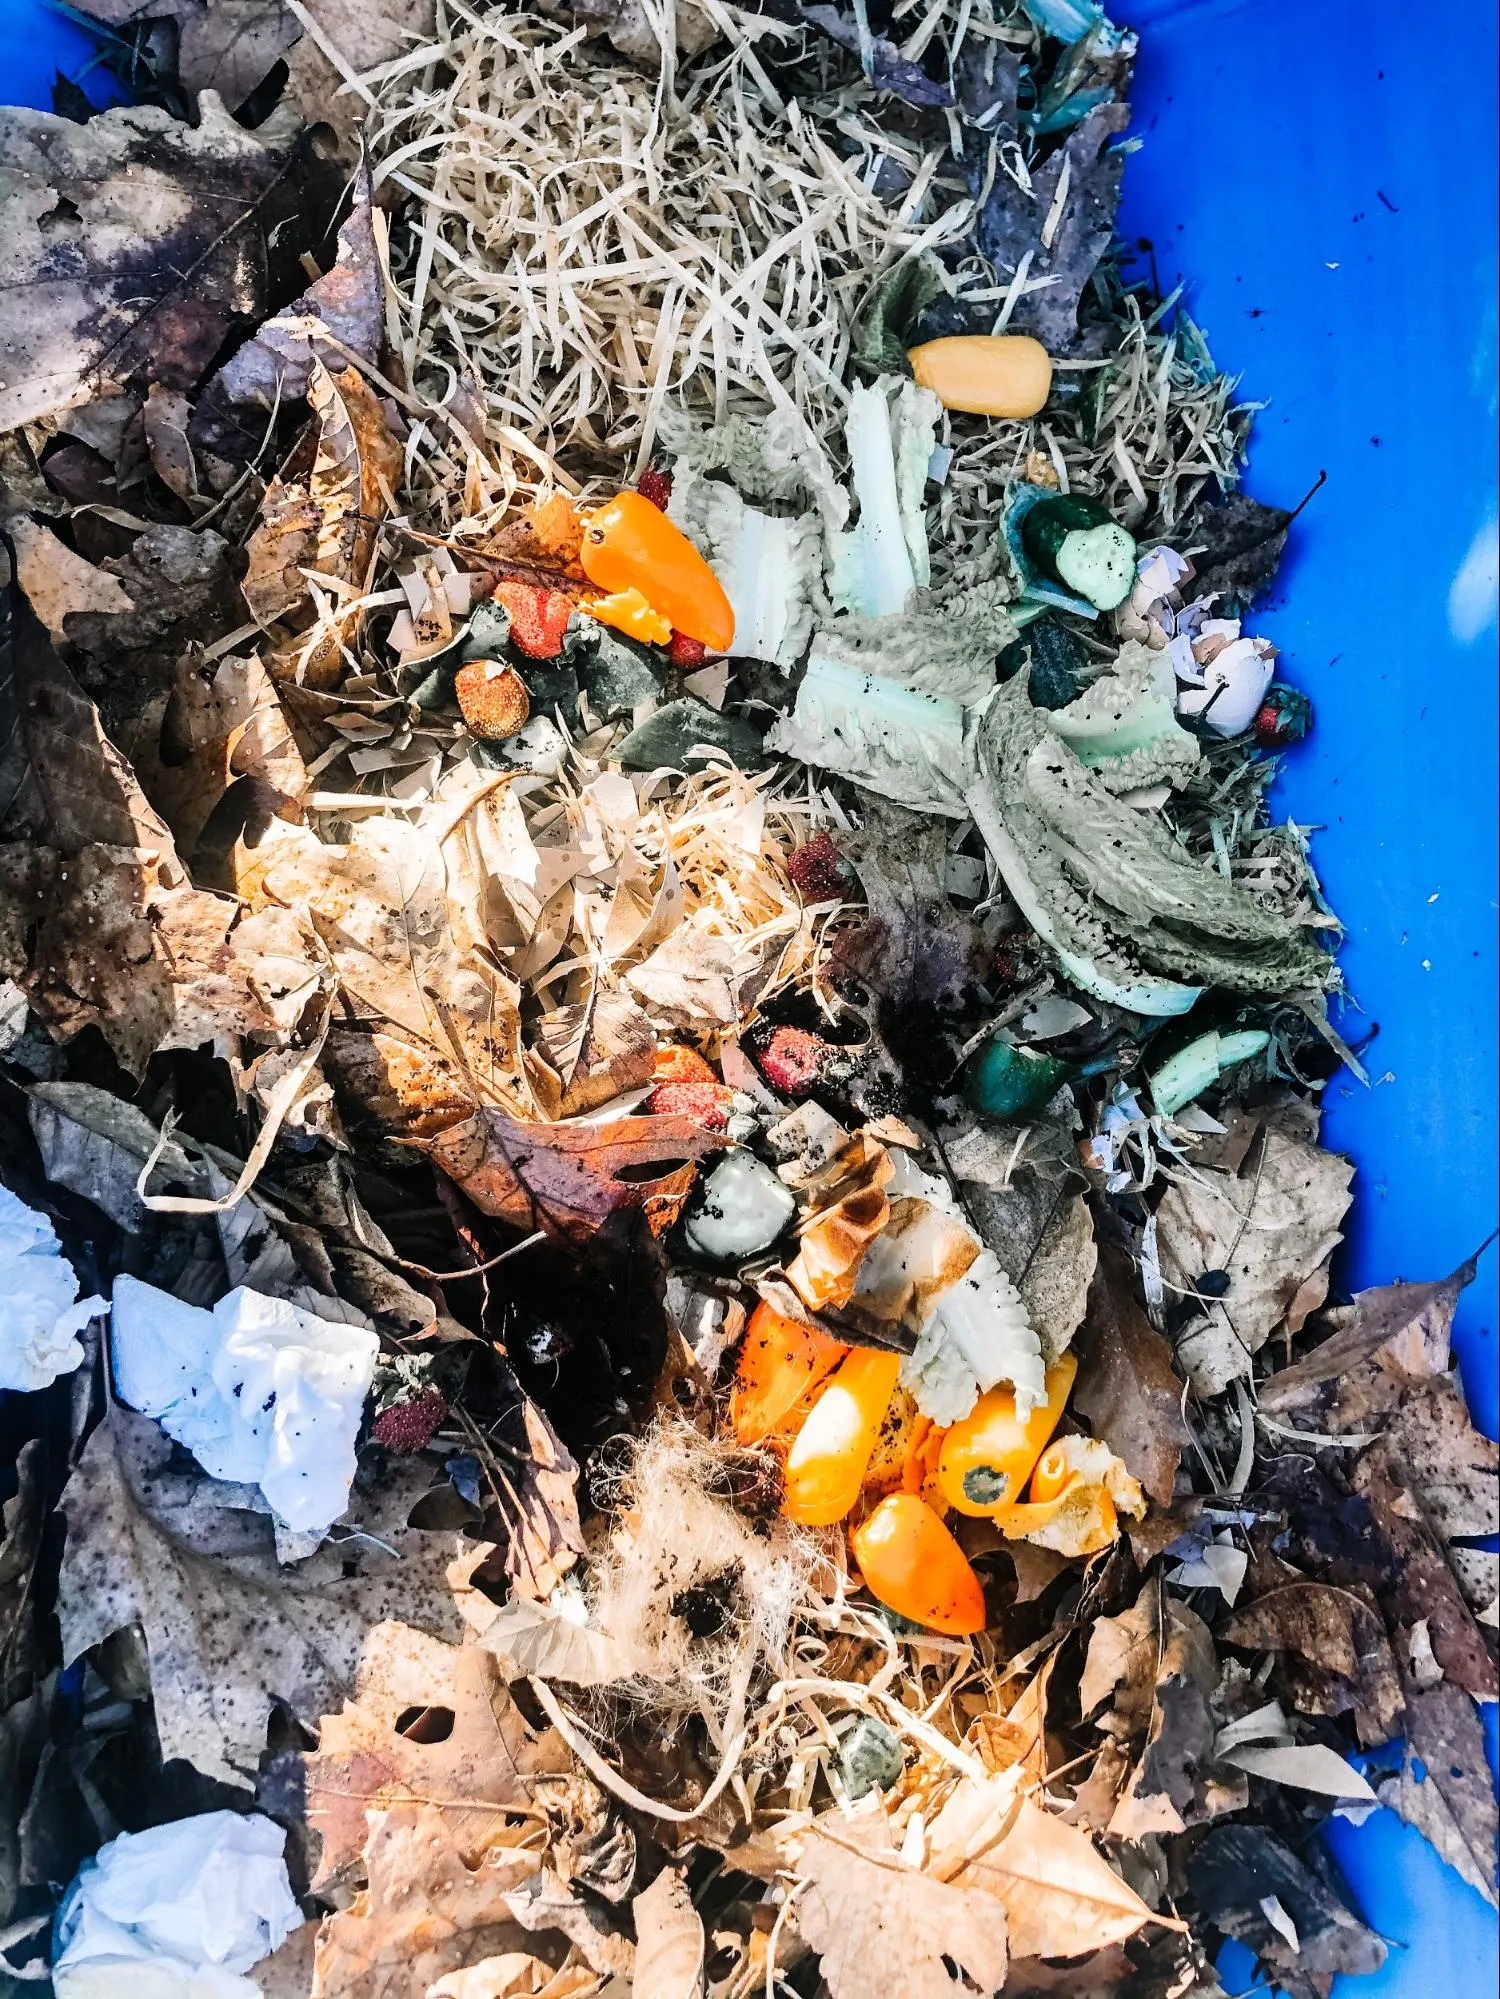
Composting utilizes two types of items – brown items and green items. Brown items are high in carbon. Green items are high in nitrogen. You are creating an environment where tiny microorganisms can live. These microorganisms break down the brown and green materials into compost.



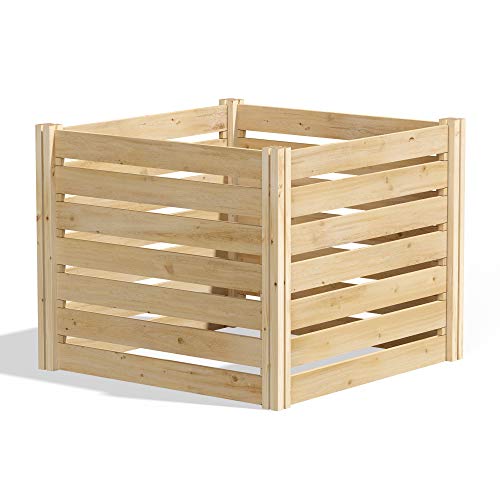
To start your compost pile or bin, you’ll want to decide on the area where you’ll place your compost. If you’re using a bin, it should be deep enough that you can layer your materials and easily accessible. You’ll want to stir or flip your compost from time to time so you’ll need to make sure you have enough space.
For the best compost, it’s suggested to have a ratio of brown:green materials in your pile of about 25:1 or 30:1.


Brown Items For Composting
- Pine needles
- Dry leaves
- Yard waste
- Twigs
- Straw (including straw bales)
- Hay
- Sawdust
- Paper (shredded paper, newspaper, napkins, paper towels, brown tubes, coffee filters, tea bags)
- Dryer lint


Green Items For Composting
- Coffee grounds (although they are brown in color)
- Kitchen scraps and food waste (think veggies and fruits, peels, etc – that kind of kitchen waste)
- Egg shells
- Animal manure
- Garden trimmings
- Grass clippings
- Pet fur


Items To Avoid Using As Composting Materials
- Meat, fish, or bones
- Dairy products
- Eggs
- Items containing a lot of oil such as dressings, grease, peanut butter
- Pet litter
- Coated cardboard (shiny or slippery cardboard or paper, coated with wax, plastic, or ink)
- Cooked pasta, rice, grains
- Baked goods


How To Compost | DIY Composting STEM Project
Your teens will love learning how to compost with this DIY compost STEM project!
Materials
- Bin or create
- Brown materials (see below)
- Green materials (see below)
- Twigs
- Shovel
- Gloves
- Manure
Instructions
Initial Prep and Setup
- Choose a location for your compost pile or bin.
- If you are purchasing a pre-made bin, be sure that it’s set up properly.
- If you already have a compost pile started, you can add a layer of compost to your new pile or bin.
- If you’re creating your own bin, you can find many plans online. It’s suggested that your bin be at least 3 feet deep and 3 feet wide.
- If you are simply creating a compost pile, you may want to prepare a way to cover the pile from time to time and place it in an area that it’s out of the way.


DIY Compost STEM Project Steps
- Collect your starter brown and green materials.
- Now you’ll start layering your materials. It’s best to start with a layer of twigs and dried leaves to allow for good drainage.
- Then you’ll want to add some more dried leaves or dead grass.
- Next, you can add a layer of your green materials.
- Follow that green layer with another layer of materials. Remember to keep your layers of brown materials much thicker than your green material layers.
- Once you have filled your bin or created 2-3 layers of each type of material, finish your pile with a layer of brown material at least 8-10 inches thick.
- You can wet down your pile if it’s very dry. It should be about as damp as a rung-out sponge.
- If you expect a lot of rain, you can cover your pile with a tarp or lid.

Notes
DIY Composting Tips, Tricks, and Notes
- Be sure to keep all food scraps at least 8-10 inches below the surface of your compost pile to keep unwanted visitors from digging.
- Keep a compost container in your kitchen to collect scraps and empty it every few days into your compost bin.
- Toss fruit and vegetable scraps into a blender before adding them to the compost pile. This helps speed up the process by making the pieces smaller.
- If you don’t have the ability to create an outdoor compost bin or pile, you can create a smaller version inside a 2-liter bottle in the house. Simply cut off the top of the bottle just below the neck. Fill the bottle following the same steps above on a much smaller scale.
Follow-Up Questions About Composting
Keep the learning process going by asking your kids the following questions about composting:
- Why do we need a specific ratio of brown to green materials?
- What would happen if our ratio of brown and green materials was off?
- What would happen if we mixed the compost bin too much? Or not enough? (Think aeration and the bottom of the bin) How would this affect the finished compost?
- Can you keep garden soil healthy without a good compost pile? If so, how?
- How does building our own compost bin benefit our family? Our neighborhood? Our world?
- How do we benefit from others’ composting?
- Does homemade compost have a better effect on garden soil in an in-ground garden or on a garden in a raised bed?
- What other DIY projects can benefit your garden and help your family save money?


More Composting Learning Ideas And Activities
When you’re done enjoying this STEM project, be sure to consider these follow-up activities for even more learning adventures!
- Create a biodegradable sorting game. Collect items from around the house and have the kids sort them into “biodegradable” and “non-biodegradable”
- After your compost has developed, allow the kids to “dig through” it. Discuss and research the many insects and critters you find in the compost. How do those creatures help the composting process?
- Discuss how all food products come from the soil in some way. Prepare a meal and then discuss where each food item and ingredient came from. You should be able to link each item back to the soil.
- Older students may enjoy researching the specific microorganisms present in a compost pile and specific processes that take place in order to break down the materials.
- Research hot composting vs cold composting. Write a research paper about the differences and pros and cons of each one. Then go build your own hot composting system!
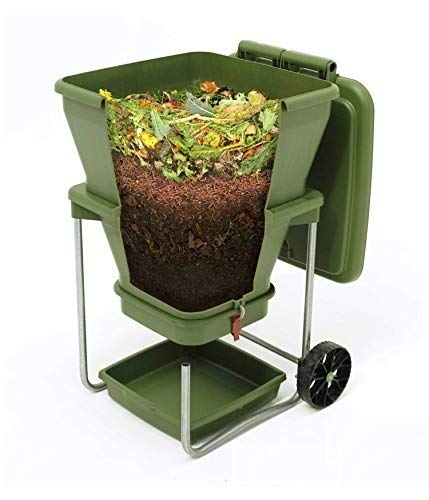
- Research worm composting and vermicomposting. Explain the pros and cons of these composting methods.


More STEM Resources for Kids
If you liked this activity, you are going to love the STEM Made Easy Books. Each book includes 10 STEM projects along with instructions for how to make them fun and engaging for kids ages 3-19. Take a look at the third edition, the Gardening Edition. Or read more about the books in this article on homeschool STEM curriculum.


Want a free chapter sample? Sign up to get a complete project chapter sent to you so you can see exactly what’s inside each of the STEM Made Easy books.
I’ve also got this ultimate list of STEAM and STEM activities for kids of all ages if you want to take a look.
as an Amazon Associate, I earn from qualified purchases


More STEM Projects For Teens
DIY composting is a fantastic STEM project for teens. However, it’s not the only option!
Check out these other amazing STEM projects for teens!
- STEM activities for high school students
- STEM projects for high school
- STEM games for high school
- STEM projects for middle school
- Easy STEM challenges for middle school
- Engineering activities for middle school
- STEM activities for middle school
- Martin Luther King, Jr. Writing Prompts (2025 Update) - June 4, 2025
- 8+ Super Fun Dinosaur STEM Activities for Kids - June 4, 2025
- The 6 Best Learn To Read Programs for Kids (2025 Guide) - June 4, 2025