


This article may contain affiliate links. Please see our disclosure policy for more details.
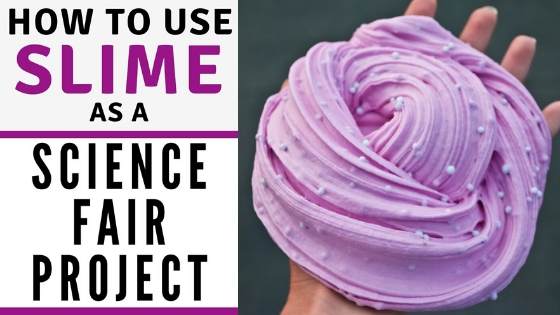
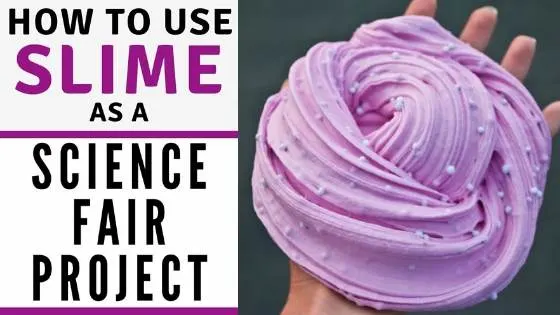
Homemade slime is becoming an increasingly popular! Slime provides many learning opportunities across multiple subjects, including tactile sensory play, science and chemical reactions, math and ratios, hands-on STEM/STEAM, problem-solving and more and you can learn all about how to make slime as well as the science behind it here!


Typically slime is thought to be a fun activity for younger kids, but there is much to be learned from this fun science activity for older kids too. Slime science is a fascinating thing and if you’re okay with a messy kitchen, you’re in for a day of fun-filled chemical reactions, creativity, and cause-and-effect reactions that even high school students will enjoy.
Using the scientific method, your students are well on their way to discovering the scientific wonders of slime.
Whether you’re looking for the perfect science fair project, an educational activity for your homeschool STEM curriculum, or you just want to have fun with your kids, we’re going to show you the step-by-step process for making slime with your kids.
Easy Navigation
Get a Bonus Free STEM Project Sent to Your Inbox

Want a free STEM project to do with your kids? Click the button below to sign up to have an exclusive project guide sent to you so you can see exactly what to expect from our popular STEM Made Easy Digital Subscription.


Or read more about the other STEM Made Easy Digital Subscription here. Each month includes 5 STEM project guides along with step-by-step instructions, worksheets, and extra learning resources to make STEM fun and engaging for kids ages 3-19.
Slime Experiments and Fun Slime Science Fair Projects
When I was in high school, I was considered a very good student. I found most of my classes to be simple and fun, with one exception: chemistry class. I got my first ever C in chemistry junior year, and to this day I still consider that to be one of the hardest classes I ever took. It’s no surprise that I always put off teaching chemistry to my own kids.
So what does this story have to do with slime? What’s so educational about slime anyhow?
The Science of Slime
The fact is, there is a science of slime. For one thing, slime is chemistry in motion.
Chemistry explains states of matter such as liquid, solid, and gas, and it also explains how these states of matters react under different conditions, especially the formation of new substances.


Slime is a non-Newtonian fluid, meaning it does not conform to the standard rules of fluid dynamics. Unlike water, which has a constant viscosity, slime can change its viscosity in response to stress. This property is what makes slime so interesting to play with and experiment on.
Slime science projects feature an endothermic reaction, meaning it absorbs heat (energy) rather than giving it off. This explains why slime gets colder over time. Then, depending on the recipe you use, certain ingredients change the molecular makeup, also known as cross-linking. Your student can use the scientific method to test which slime recipes and ingredients cause which chemical reactions.

Slime also has unique properties when it comes to its behavior under stress. When slime is stretched or pulled slowly, the polymer chains slide past each other, making the slime more fluid-like. However, when the slime is rapidly stretched or hit with force, the polymer chains become entangled and the slime becomes more solid-like.
Other chemistry concepts that making slime involves are:
- Mixtures
- Chemical reactions
- Substances
- Polymers
- Cross-linking
- States of matter
- Elasticity
- Viscosity
Talk about fun science activity! It’s no wonder people all over are using this concept as a slime science fair project idea.


The Science of Slime
Slime is a fascinating substance that makes science for kids fun and engaging. This simple science activity contains some fascinating information.
You can teach your children why glue stays liquid (because it is a polymer made up of identical long strand molecules, called monomers) until a borate ion ingredient is added to the mixture (connecting the long strand molecules together). Throughout the mixing process, these ingredients begin to form a thick, rubbery type substance (eventually becoming slime).


Slime is also a unique substance that can be considered a solid and a liquid (known as a non-newtonian fluid). You can even experiment with making it more or less thick and sticky (viscous/viscosity) by adding foam beads.
The possibilities are almost endless.
Easy Slime Recipes
Use these easy slime recipes and experiment with the elements of slime. Make sure you take good notes so you can use what you learn in your next science project! Consider testing out multiple basic slime recipes, or perhaps multiple variants of the same recipe, during your science project and see what happens when you combine different ingredients.
For example, in the Borax Slime recipe, what happens if you add less borax? Or more? How much borax would you need to add to turn your slime into a rubber ball? There are so many questions and possibilities to discover!
On that note, feel free to download these free, printable scientific method worksheets. Perfect for slime science fair projects or other at-home science experiments.
3-Ingredient Slime (without Borax)
You will need:
- 2 (4-ounce) bottles washable school glue (like Elmer’s)
- 1 teaspoon baking soda
- 2 to 3 tablespoons saline solution, divided
- Optional – 3 drops food coloring
Instructions:
- Pour the glue into a medium bowl.
- Add the baking soda to the glue and stir until smooth.
- If desired, add food coloring now.
- Pour in 2 tablespoons of the saline solution and stir slowly. The mixture should begin to harden, eventually becoming stringy.
- Slowly continue mixing until a ball of slime forms.
- Knead the mixture by working it between your hands until smooth. If the slime is too slimy, work in another 1/2 tablespoon of saline solution as needed.
- Store your slime in an airtight container at room temperature for future play.
Tip: use glow in the dark glue for glow in the dark slime!
Puffy, Fluffy Slime Recipe
You will need:
- 2/3 cup of Elmer’s White Glue
- 1/2 teaspoon Baking Soda
- 1/4 Cup Water
- 2-3 cups Shaving Cream
- 1.5 Tablespoons Contact Lens Solution (must have boric acid and sodium borate in the ingredients)
- Optional – 3 drops food coloring
Instructions:
- Add the white glue to a bowl.
- Add water and baking soda, then mix.
- If desired, add food coloring now.
- Add the shaving cream and mix again.
- Slowly add in contact solution and knead.
Tip: add 1 TSP and knead for 5 minutes, then add ½ TSP and continue kneading.
This mixture will be sticky but will be less sticky as you add more contact solution. Consider adding baby oil to your hands if it’s too sticky. Store in an airtight container for future play
Borax Slime
Remember – borax is a soap (commonly used along with laundry detergent) and is toxic! Keep this in mind when using with young children.
You will need:
- 1/2 cup White glue
- 2/3 cup Water
- 1 tsp Borax powder
- 1/3 cup Water for making borax solution
- 2 tsp Shampoo
- 1 dash Oil
- Optional – 3 drops food coloring
Instructions:
- Make a borax solution by mixing borax powder with water in a bottle and shake the bottle until the borax powder dissolves.
- Mix water, glue and shampoo in another bowl.
- If desired, add food coloring now.
- Slowly add borax solution (1 ml. at a time) to the glue mixture and stir it until it is thick and has the slime texture that you want.
- Add some oil to the slime to make it not stick to your hands.
- Knead and stretch until it is the consistency of slime.
Buttery Slime
Ingredients:
- 3 TBS Corn starch
- 3 TBS White glue
- 3 TBS Shaving cream
- 4 Pinches Baking soda
- 2 TBS Contact solution
- 1/2 tsp Baby oil
- Optional – 3 Drops food coloring
Instructions:
- In a bowl, combine corn starch and white Elmer’s glue.
- Add shaving cream and four pinches of baking soda.
- Mix well.
- Add food coloring, if desired.
- Add contact solution and mix until it turns into slime.
- Add baby oil and mix well.
***Consider adding glitter, food coloring, and foam beads to any of your slime mixtures to create different kinds of cool looking slime.
Slime Safety & Precautions
Although most basic slime recipes you’ll find here (and across the internet) are typically child-safe, there are a few safety and precaution tips we’d like to share.
For starters, an adult should always be in supervision of creating the slime. Adults should always be the ones handling any ingredients that are considered chemicals, such as borax powder or laundry detergent. Most slime projects are not suitable for children under the age of 4.
If you notice any type of skin irritation, discontinue making, using, and/or playing with slime immediately. In some cases, gloves can be worn while playing with slime. Slime should be played with in moderation and not played with for an extended amount of time. Most slimes are not edible (and none on this page are) so refrain from putting slime in any mouths.
If you are looking for slime recipes that are safe to eat (and perhaps even delicious!) check out this article on edible slime recipes and other edible science experiments.

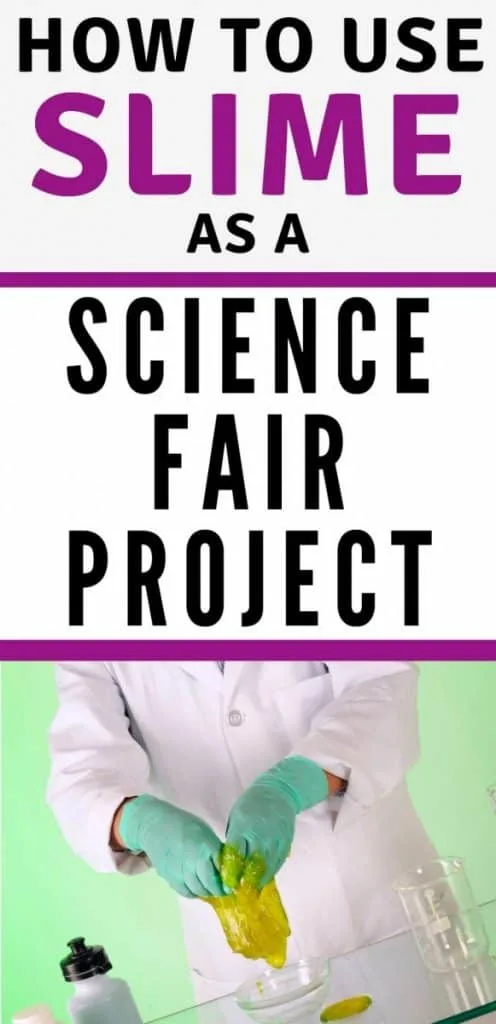
How to Make a Slime Science Fair Project
With your slime education and recipe, you are now ready to use your slime concoction for a science fair project!
There are many ways you can do this; however, you can’t go wrong with presenting it through the scientific method. The way you work through this method can be what you show bystanders at your science fair.
Navigate through the following prompts to create a project worth remembering:
- Brainstorm a question you’d like to answer.
- Research your question.
- Gather any materials and supplies needed.
- Conduct the science experiment that will answer your question and back up your research.
- Gather data and analyze the results.
- Draw your conclusion and check to see if it answered your question.
Slime science project questions to ask:
- Do you need water in your recipe?
- What happens if you add more or less of something?
- How does the substance change over time?
You can also experiment with creating volcanic slime, glow in the dark slime, magnetic slime, and even UV color-changing slime.
Proper Disposal of Your Slime Experiment
After you’ve finished conducting your slime science experiments, you’ll need to dispose of any leftover slime properly. The following are a few tips for safely disposing of slime:
- Don’t pour slime down the drain: Slime can clog your drains and pipes, leading to costly plumbing repairs. Instead, dispose of slime in the trash.
- Put slime in a sealable container: Before you throw away slime, we advise that you put it in a sealable container to prevent it from sticking to other garbage or leaking out of the trash bag.
- Wash your hands: After handling slime, be sure to wash your hands thoroughly with soap and water.
- Consider composting: If you’re using natural materials to make slime, such as cornstarch or flour, consider composting the slime instead of throwing it away. This can help reduce waste and benefit your garden.
Troubleshooting Common Issues with Slime Science Experiments
Sometimes, your slime science experiments may not turn out the way you expected. Here are some common issues and how to troubleshoot them:
- Slime is too sticky: If your slime is too sticky, it may be because you added too much water or not enough activator. Try adding more activator, such as borax or contact lens solution, and kneading the slime until it becomes less sticky.
- Slime is too hard: If your slime is too hard, it may be because you added too much activator. Try adding more water or a few drops of oil, such as baby oil or cooking oil, and kneading the slime until it becomes softer.
- Slime is too runny: If your slime is too runny, it may be because you added too much water or not enough activator. Try adding more activator and kneading the slime until it becomes thicker.
- Slime is lumpy or grainy: If your slime is lumpy or grainy, it may be because you didn’t mix the ingredients well enough or didn’t dissolve the activator properly. Try mixing the ingredients more thoroughly, or dissolve the activator in hot water before adding it to the slime mixture.
- Slime smells bad: If your slime has a bad smell, it may be because you used expired ingredients or didn’t store the slime properly. Throw away the slime and start over with fresh ingredients, and be sure to store the slime in an airtight container when not in use.
STEM Resources Delivered to Your Inbox Every Month


If you liked this edible STEM activity, you are going to love the STEM Made Easy Digital Subscription. Each month, you’ll receive 5 fully-planned STEM project guides along with worksheets and instructions for how to make them fun and engaging for kids ages 3-19. Check it out now!
What kind of slime will you be making? Let us know in the comments below!
Related Posts:
- Rock Candy Science
- STEAM-Based Homeschooling
- 4th of July STEM Ideas
- Valentine’s STEM Activities
- The Best Online STEM Classes for Kids
- STEAM Art Project Ideas
- STEAM-Based Homeschooling
- Free Printable Valentine Multiplication Worksheets - June 4, 2025
- Free Printable Martin Luther King, Jr. Word Scramble - June 4, 2025
- Digital Math Curriculum | Pros, Cons, and Options - June 4, 2025